The Call of the Plunger: A DIY Hero's Weapon
1. Proper Plunger Placement:
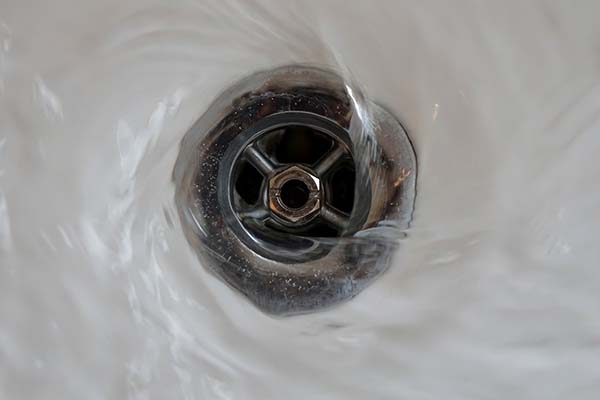
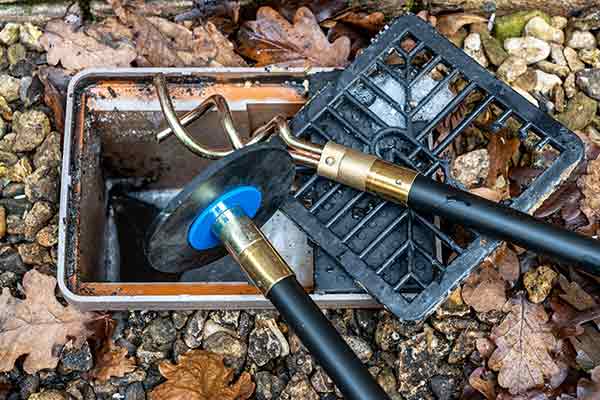
The trusty plunger is a DIYer's best friend when it comes to emergency drain unblocking. To wield its power effectively, ensure a proper seal by covering the drain completely with the plunger cup. This creates the necessary suction for dislodging the blockage.
2. Up-and-Down Motion:
Embrace the rhythm of the up-and-down motion. Apply steady pressure, pushing down and then pulling up quickly. This action helps to create suction, encouraging the blockage to move and allowing water to flow freely.
3. Repeat as Needed:
Don't be disheartened if success doesn't come on the first try. Repeat the plunging process several times, and in some cases, you might need to be persistent. Patience is key when coaxing stubborn clogs to surrender.
4. Hot Water Assist:
Enhance the plunger's effectiveness by pouring hot water down the drain before and after plunging. The heat helps to loosen and break down the blockage, making it more susceptible to the plunger's magic.
Quick Fixes for Common Emergencies
1. Baking Soda and Vinegar Magic:
When faced with a minor blockage, concoct a magical mixture of baking soda and vinegar. Pour half a cup of baking soda down the drain, followed by a cup of vinegar. Let the fizzing action work its charm for about 15 minutes, then flush with hot water.
2. DIY Drain Snake Adventure:
Unleash the power of a DIY drain snake to tackle tougher clogs. Craft one using a wire coat hanger, straightening it out and forming a hook at one end. Carefully feed the snake into the drain, twisting and turning to capture the blockage. Pull it out slowly, and witness the triumphant defeat of the clog.
3. Boiling Water Blitz:
For a swift and simple emergency fix, bring water to a boil and carefully pour it down the blocked drain. The force of the hot water can often dislodge minor obstructions, offering a quick and effective solution.
4. Salt and Hot Water Duo:
Combine the abrasive power of salt with the heat of boiling water for a one-two punch against grease and soap scum. Pour a half-cup of salt down the drain, followed by boiling water. Let the mixture work its magic, and follow up with a round of plunging for good measure.
Troubleshooting Tips for DIY Success
1. Identify the Culprit:
Before diving into DIY emergency drain unblocking, try to identify the nature of the blockage. Different clogs may require varying approaches, so knowing what you're up against will guide your strategy.
2. Safety First:
Always prioritise safety. Use gloves and, if necessary, eye protection when working with DIY drain unblocking techniques. Chemical cleaners, if used, should be handled with care, following the manufacturer's instructions.
3. Know When to Call for Backup:
While DIY techniques can work wonders, it's crucial to recognize when it's time to call in the professionals. Persistent or severe blockages may require the expertise of a plumber equipped with specialized tools.
When the Going Gets Tough: Seeking Professional Assistance
1. Deep Clogs and Root Invasions:
If your DIY efforts prove futile, deep-seated clogs or root invasions may be the culprit. Professional plumbers have the tools and expertise to diagnose and address these complex issues.
2. Pipe Damage and Leaks:
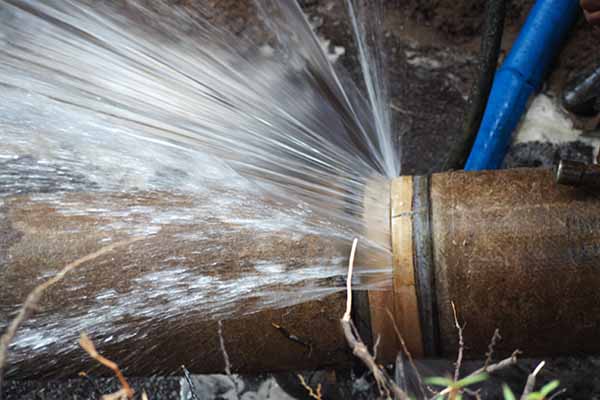
DIY methods may exacerbate problems if your plumbing system has sustained damage. Professional assistance is essential to identify and repair issues such as cracks, leaks, or corroded pipes.
3. Persistent Odours and Slow Draining:
If you notice persistent odours or slow draining despite your DIY efforts, it's time to consult a professional. These symptoms may indicate underlying issues that require a thorough inspection.
Installing Drains with DIY Confidence
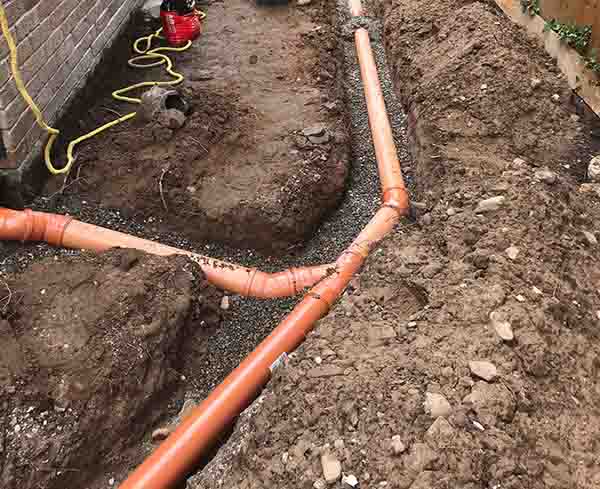
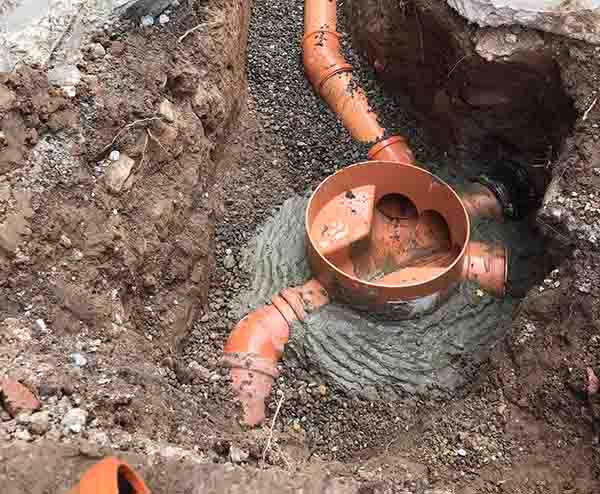
As someone versed in repairing drains and fixing drainage issues, I encourage DIY enthusiasts to approach emergency drain unblocking with confidence. While these techniques can be effective for minor issues, maintaining your drains is equally crucial to prevent emergencies.
1. Regular Maintenance Routine:
Adopt a regular maintenance routine to keep your drains in top condition. Periodic use of DIY solutions like baking soda and vinegar can help prevent the buildup of debris.
2. Drain Screens and Stoppers:
Invest in drain screens and stoppers to catch hair, soap scum, and other debris before they enter the drain. This simple step can go a long way in preventing future emergencies.
3. Mindful Disposal Practices:
Be mindful of what goes down your drains. Avoid disposing of grease, large food particles, and non-flushable items. Responsible disposal habits contribute to a healthier plumbing system.
Be the DIY Hero Your Drains Deserve
Armed with these DIY emergency drain unblocking techniques, you can confidently tackle common plumbing woes and be the hero your drains deserve. Remember, quick fixes and plunger techniques are your trusty sidekicks in the battle against blockages.
As someone who takes pride in fixing drainage issues, repairing drains, and installing them, I'm thrilled to empower you with the knowledge to navigate the twists and turns of emergency drain unblocking. May your DIY endeavors be successful, your drains flow freely, and your plumbing adventures be filled with triumph!
